Week 5: Lighting and Shadergraphs
"Time to shed some _light_ on the situation!... (cool joke)"
~ Nathan Johns (8.08.2023)
Week 5: Lighting and Shadergraphs
A large portion of games these days put a great deal of effort into presenting a good looking experience. Apart from the graphics of the game alone, there are plenty of special effects and lighting that goes into a game. In this devlog, I'll do some simple lighting and use Unity shadergraphs to create some interesting (or not) visuals for a game.
Brackeys Tutorial
To start things off, and to learn how to actually do lighting and shadergraphs in Unity, I had a little help from a helpful tutorial, created by Brackeys themself, in a video titled "LIGHTING" in Unity (video). Over the course of this video, Brackeys teaches us how to bake lighting into a Unity scene - this is essentially a process of storing a map of which areas should be lit, and which should not. This is generally done in game design to reduce the requirements for a game to function; a game that generated all of its lighting during running would likely not function well (with some exceptions).

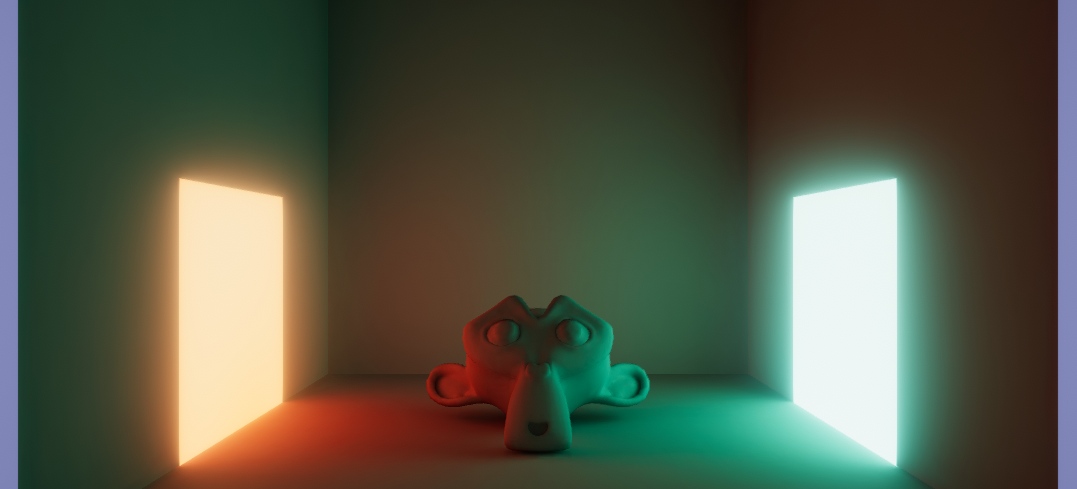
After following the tutorial, we end up with what looks to be a rather simple scene of a monkey head being lit from either side. This was achieved by specifying that either side 'light' are static objects, which lets Unity know they wont be moving, and giving them both an emissive material. The emissive material produces a light that bounces off of the walls in rays when the lighting for the scene is baked. This produces a 'baked lightmap' as it were, and allows the renderer to show the various lighting with relatively little issue.
Of course, the process is different for a light that moves. These are their own thing entirely, and are processed during running. A non-static light generally doesn't involve any light rays, or complicated functions like that, but generate their own, separate, shadows and lights.
To keep with the Brackeys tradition, I also looked into the tutorial titled "Basics of Shadergraphs" (video), by theirs truly.

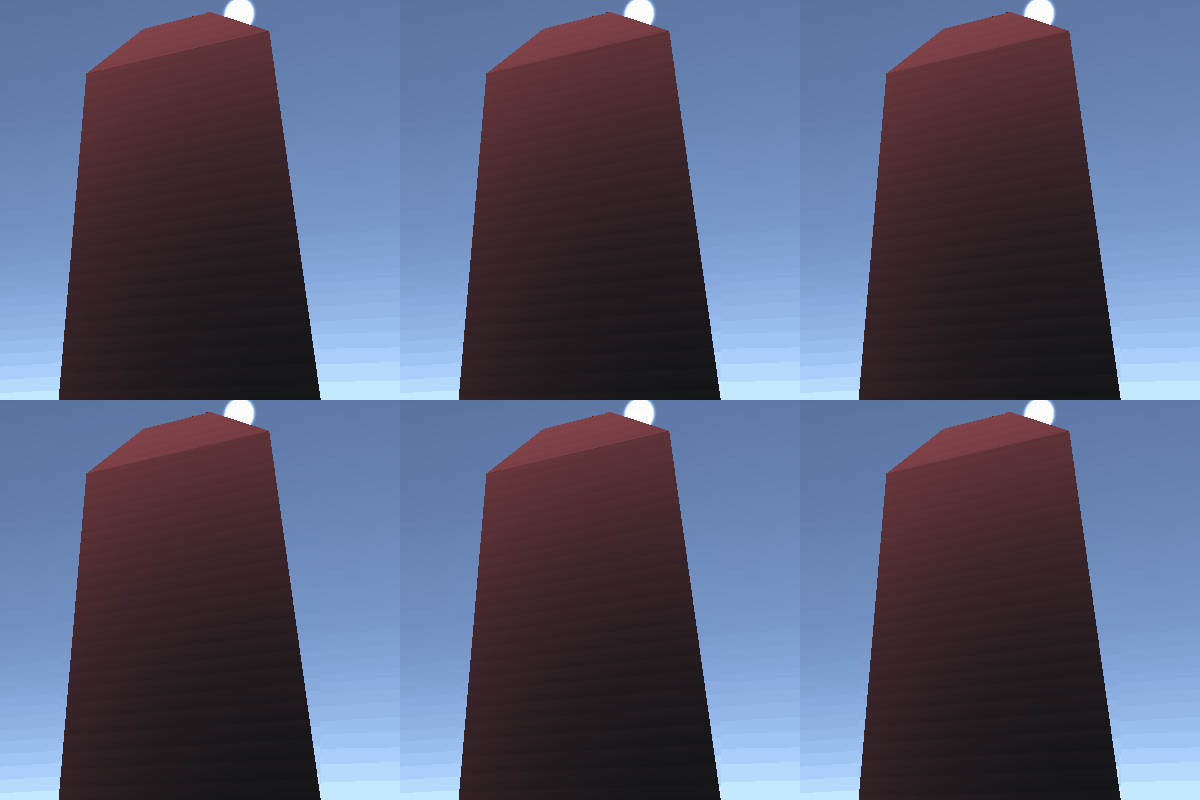
In the tutorial, Brackeys explains the basics of creating a shadergraph, which is basically a simplified way to create a shader for Unity, without any of the scripting. The shader we've created here is an emissive outline to object, which is attached to the sine of time, making it smoothly flash. This is created with a Fresnel effect, modified by a few other nodes, and inputted into the emission of the shader.
It is very simple to create your own shaders with this tool, and it could prove greatly useful to actually making games, instead of having to do all the boring programming by yourself.
Some of my own stuff
In this next part, we'll look at some of the things I did to the previous scene, with the new knowledge of lighting and shaders. There isn't much to be said about these that hasn't been said already, but feel free to have a look at them, and then we can go over what changed.


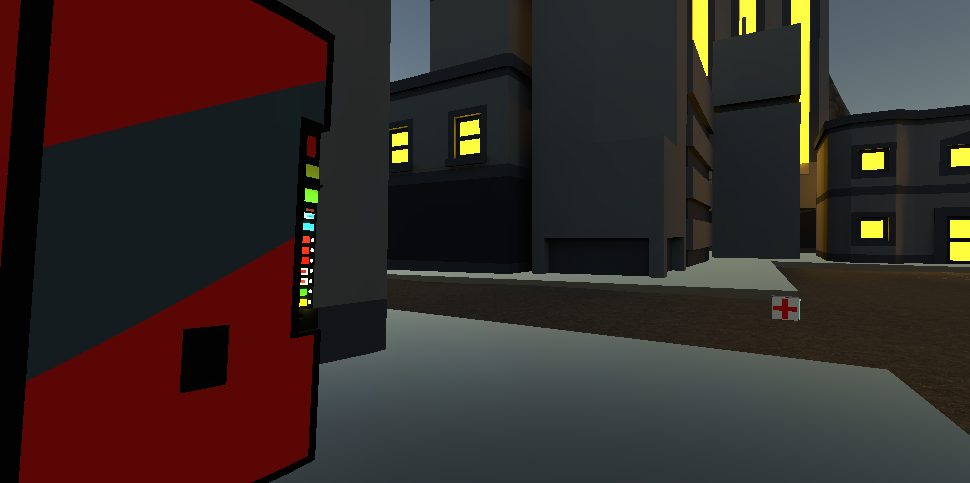
The changes to the scene overall are that the default lighting of Unity has been removed, making the scene look more like a night area (although the skybox is still of a day scene... shh). Along with the more moody atmosphere, the windows of the buildings were changed to be of an emissive material, making them useful for the added baked lighting. Finally, we use some light entities for the vending machine, which means they would work no matter where the thing moves (it doesn't, but if it did ;p).
Overall, the atmosphere is (in my opinion) improved quite noticeably by these changes. This goes to show how much lighting and effects can effect a scene overall.
References
UTAS KIT207 Portfolio
| Status | Released |
| Category | Assets |
| Author | utas_nathan |
More posts
- Week 4 (part 2): Game IdeasAug 06, 2023
- Week 4: Navmeshes and Simple MechanicsAug 06, 2023
- Week 3: Unity terrain and movementJul 31, 2023
- Week 2: Pain and SufferingJul 24, 2023
- Week 1: Blender BasicsJul 17, 2023