Week 2: Pain and Suffering
"I have discovered a new-found hatred for the Blender program... Can't wait until we start using Unity as well (sarcasm)."
~ Nathan Johns (18.07.2023)
Week 2: Bone-hurting and Pretty Scenes
Today on this devlog we will be heading to Blender to create some basic animations, with bones and riggings. Also today we will be visiting Unity. Population: me. I will likely only be experimenting and creating scenes with the program to begin with, but in devlogs down the line the creations I make will rival that of a deity (not).
Blender Animation...
I want to preface this by once again saying that I am NOT good at art. Now that that's out of the way, let's get into the wonderful world of Blender animation. To start things off, and to begin animating, we need something to animate. For the purposes of testing my ability to create an animation in Blender, I assembled what could possibly be the most amazing model ever created...
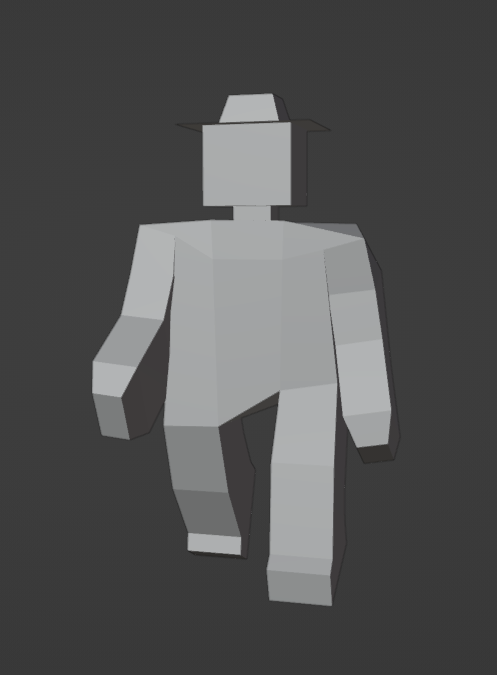
As you can see in the image pictured above, I created a simple (yet very blocky) character by simply extruding edges from a cube until it was roughly human shaped. I also made the hands and shoes beveled, to create more depth in the model. No textures for this one, though - I thought they were unnecessary for the task at hand, which is showcasing the animation potential in the Blender program. The character itself was supposed to represent a person you might find at an attraction (such as the subject of the previous devlog), which I simplified into a tourist. I know, it doesn't look extremely tourist-y, but I DID give it flat hat that one might wear. Aren't I creative?...
Anyway... Blender has many features other than simply creating these models, and in this devblog I have slaved away creating the most awe-inspiring animations that could ever be seen. First, let's look over each of the animations I came up with for my impromptu tourist, and then I'll go into a simplistic explanation of how I completed them as a whole.
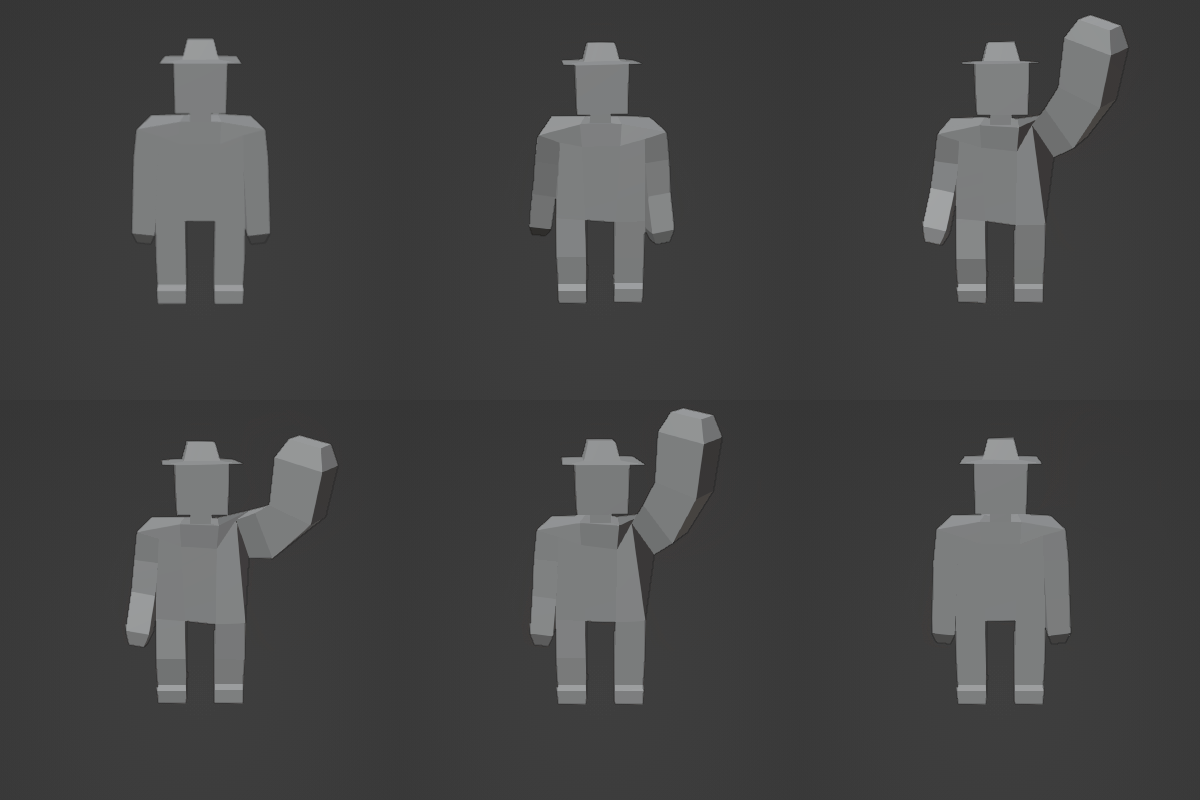
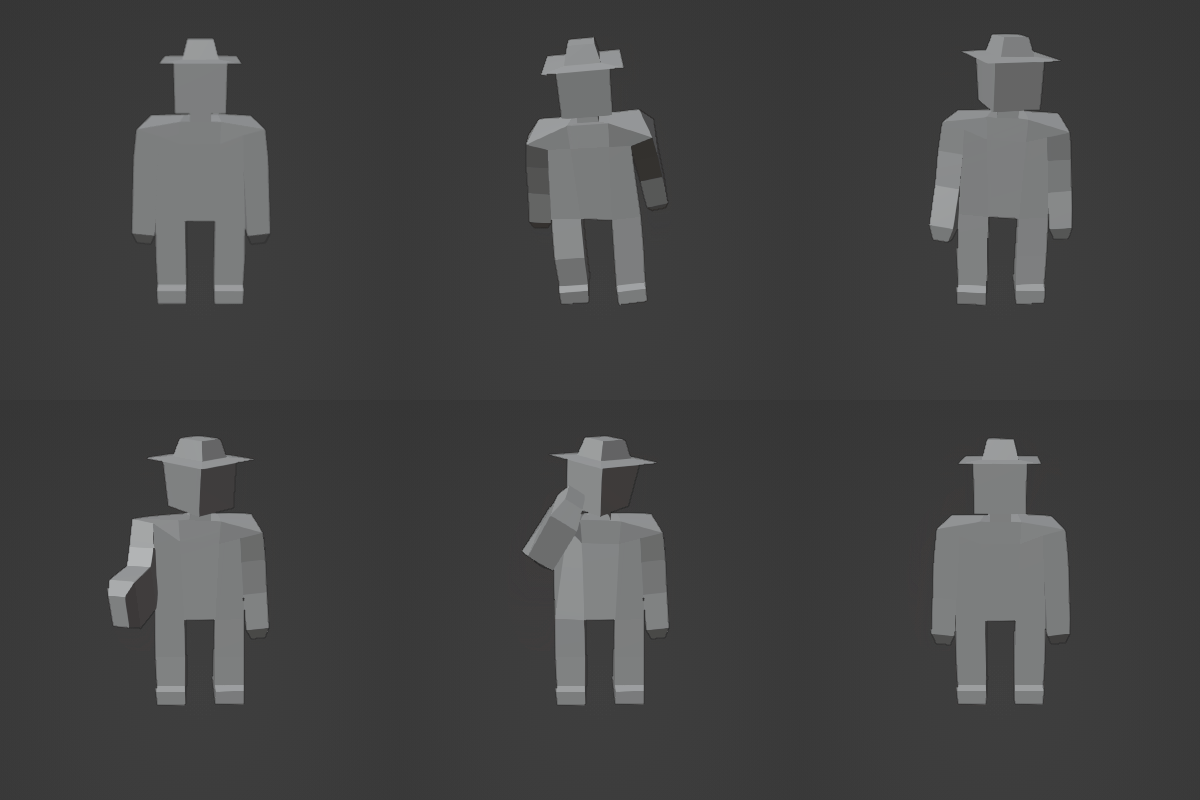
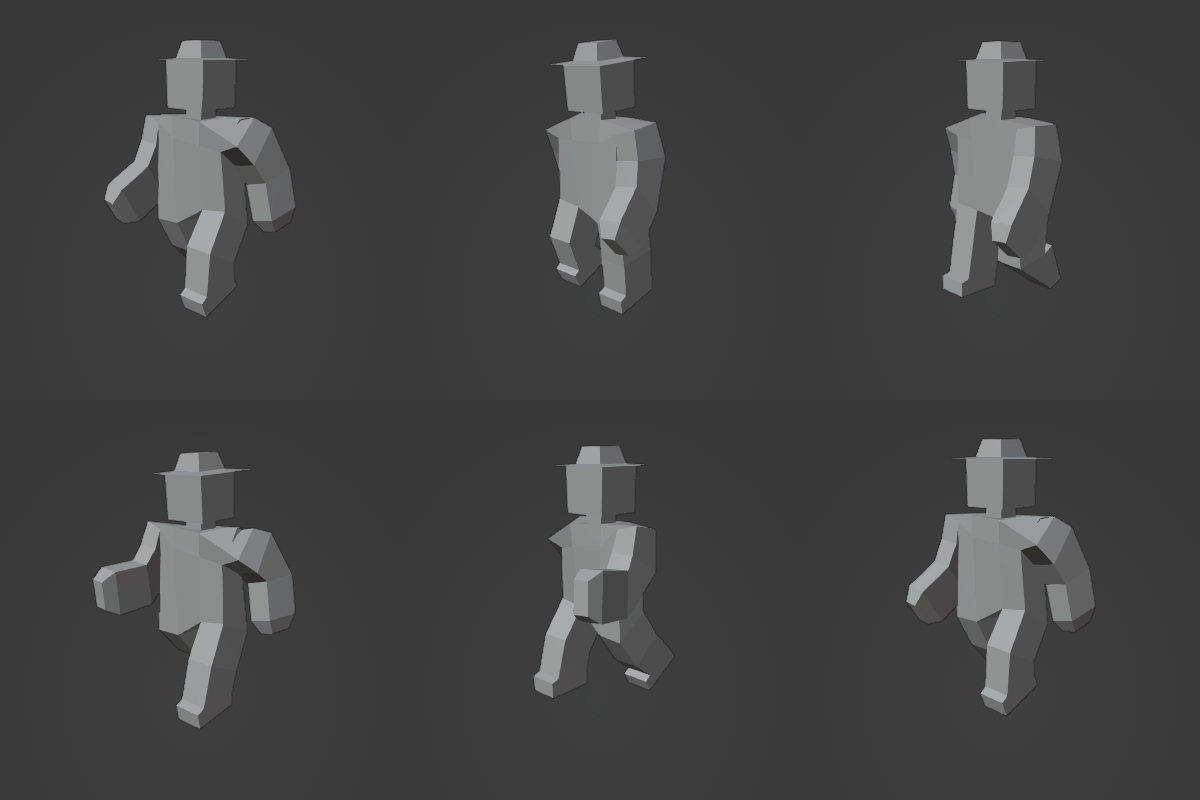
I actually think these animations didn't come out terribly, considering the limited details of the character itself - I feel like they get across enough emotion simply through their actions - well, for a cheap indie-game, maybe. I created each of these actions with the three prompts provided to me: "idle, wave, and walk". Looking at the animated images above, it seems like I managed to achieve the desired outcomes at least marginally, but how did I do it?
Firstly, to get the model to move at all I had to create what is known in Blender as an 'armature', which basically is the digital representation of a bone. Creating a linked number of these bones, filling out the limbs of the character with them, and attaching them to the model itself; this is what gives the model the ability to move like a person (albeit, a cubic person). These 'armatures' effectively tell the program what pieces of the model should be moved with the bone, allowing the user to pose and animate to their heart's content. Blender includes a more in-depth ability to adjust the 'weight' of these bones, effectively adjusting the amount of model that is moved along with them, but for the case of this model, we simply use the automatic version, which creates weights to the best of its ability (no user input needed - yay).
Now, after the bone structure of the model is complete, it leaves us only to actually animate the thing. This part isn't too complicated, however it would likely be very time-consuming to create good looking animations with the tools provided. Basically: the process consists of a timeline, to see how the body will be moved at any point; the timeline shows a series of individual 'keyframes', which is how you specify the bones of the body, and their movement; lastly we have 'actions', these are used to define an animation as a whole - like what would used in a video game (walking, running, etc.).
If you haven't used Blender before, that list likely doesn't help you much - but I will say it's not really that bad. To keep it simple, I'll say that the process is mainly just moving each bone around to where you want it, saving it as a frame, and then moving onto the next. Blender does the hard part of sliding the bones between each point, meaning you can create a smooth animation with much less effort than traditional animation. That's it, really!
Creating a scene!
For this portion of the course we were tasked with creating something from free models found online - to make a scene with the parts we find. This wasn't particularly difficult to accomplish (especially compared to wrangling with Blender), all I did was go to the website Poly.Pizza (link) - which is a recreation of the now nonexistent Google Poly - and I just grabbed some models that I found interesting (accreditation can be found at the end of this post). I then dragged these files into Unity and moved them into a satisfying position. I created a floor with a plane to represent a road, and used resized cubes to look like sidewalks. Quickly, it was done, and I think it looks pretty alright.
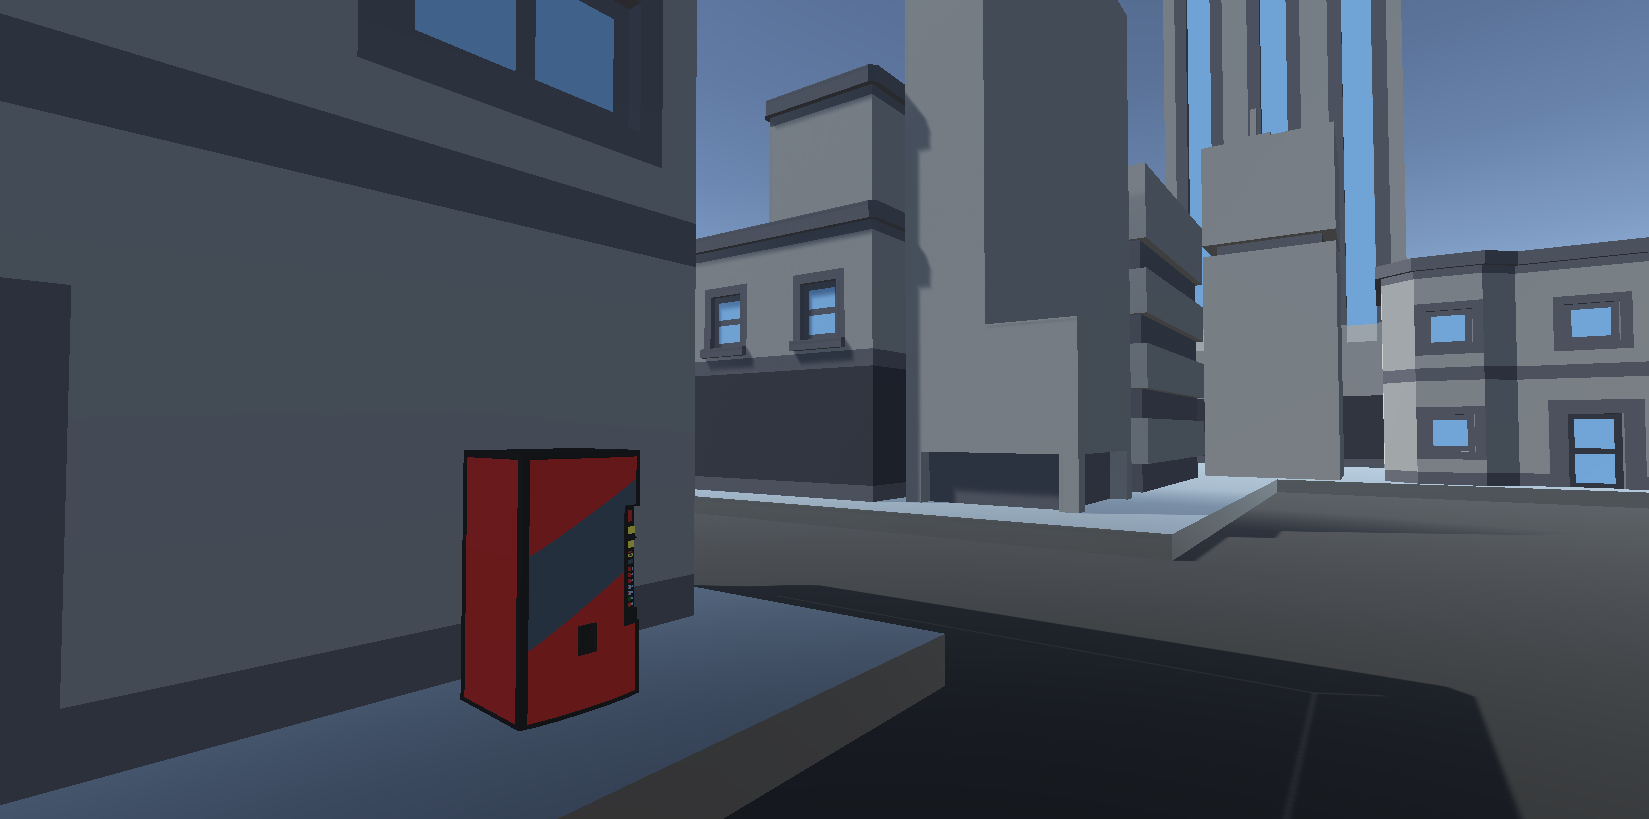
As you can tell, this wasn't exactly the most high-effort attempt to make an appealing scene with these free models, but what this goes to show is that a program like Unity can make it incredibly easy to assemble these types of scenes with little to no difficulty. Of course, in a proper game, you would likely have your own models created, and also add game mechanics... but that's not what we're doing (yet!).
References
UTAS KIT207 Portfolio
| Status | Released |
| Category | Assets |
| Author | utas_nathan |
More posts
- Week 5: Lighting and ShadergraphsAug 14, 2023
- Week 4 (part 2): Game IdeasAug 06, 2023
- Week 4: Navmeshes and Simple MechanicsAug 06, 2023
- Week 3: Unity terrain and movementJul 31, 2023
- Week 1: Blender BasicsJul 17, 2023