Week 3: Unity terrain and movement
"We're finally getting into some Unity stuff. Now I can never look at Blender again!... Maybe. :)"
~ Nathan Johns (25.07.2023)
Week 3: Unity terrain and movement
In this devlog I finally get to do some stuff in solely Unity. I'm much more familiar with this program in creating things (although, that's not saying much - I'm still not very experienced). We'll be doing both a bit of terrain creation using the in-built Unity terrain toolset, along with a few extensions (which I'll talk about it the following section).
Terrain creation
Terrain in Unity can be handled in multiple ways, such as a composite collider for a 2d game make of tiles, or simply a mesh created in another program entirely (the dreaded Blender!). For this devlog, however, I'll be creating a very simple terrain in the in-built terrain editor that comes with unity. For those that aren't aware, Unity uses a system of objects and components, objects representing things in the game world, whereas components add functionality to those objects. A Unity terrain is a single (or more) object that has the terrain component attached. This object makes the base for our entire floor, along with any baked-in objects, like trees or maybe buildings.
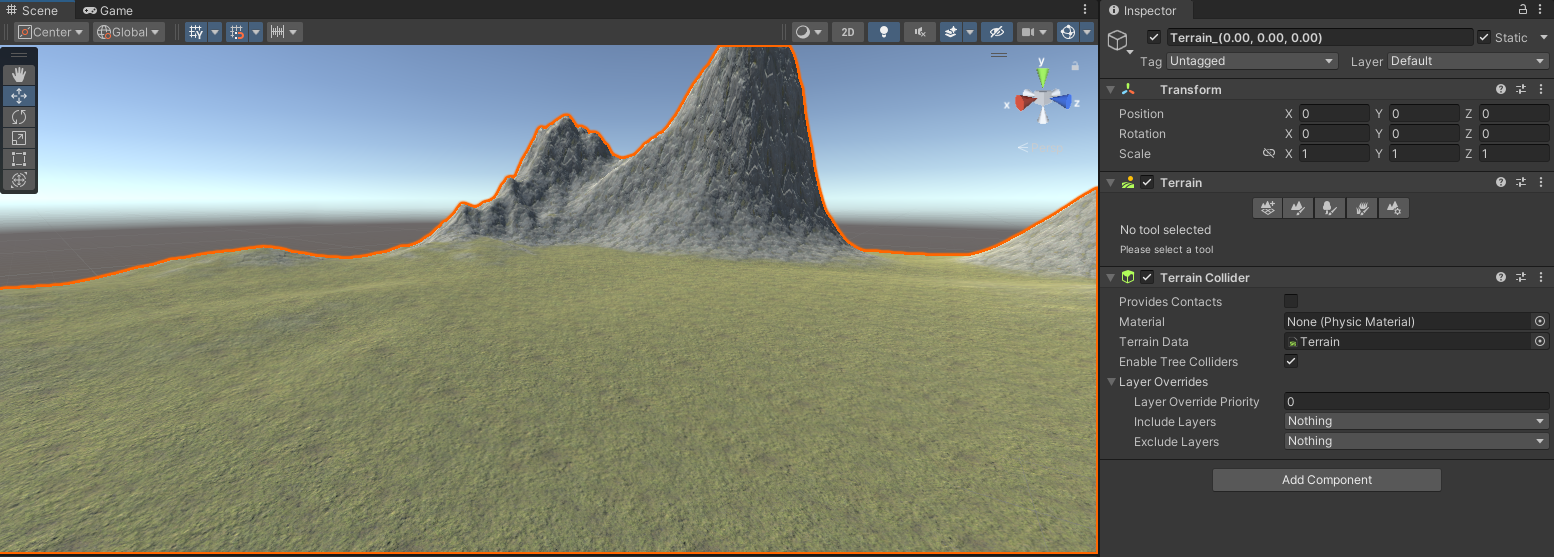
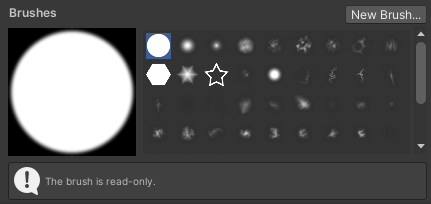
These rather bland-looking rolling hills and ditches are envisioned by my attempt to create a terrain for my previous cityscape. These were formed by my use of the various tools and the texture painter. To put it simply, the height of the terrain was created by the use of the various stamps, whilst the textures were taken from the 'Terrain Sample Assets' pack that came with the tools. Specifically, the tools used were an extension to the default Unity terrain system, aptly named 'Terrain Tools'.
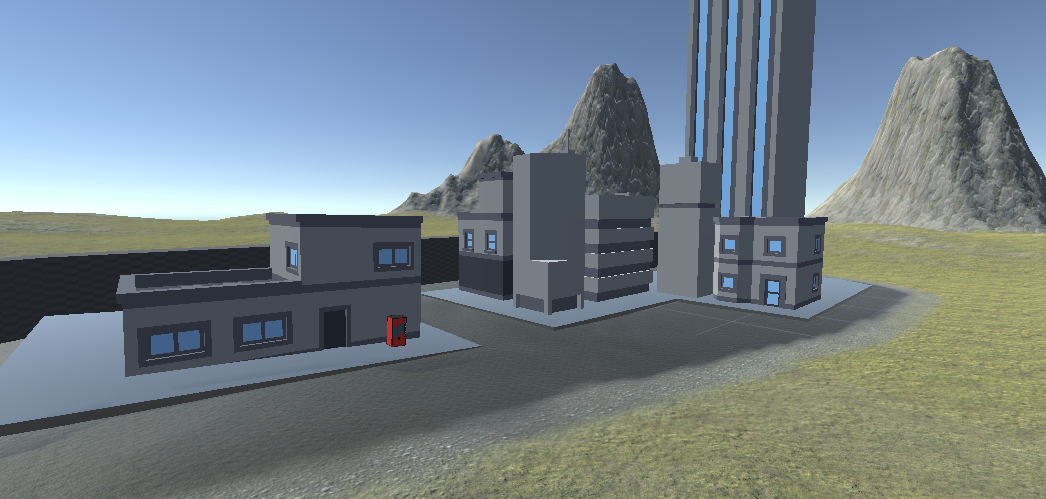
As you can see, the cityscape fit fairly snugly into the terrain. Some editing needed to be done to the tilt of the landscape, and also the foundations did not fit at all after the terrain addition. They were far too rectangular for the terrain, and wouldn't fit no matter what. This is why I had to construct new objects with another handy tool that I used: the package 'ProBuilder'. Probuilder allows you to do some simple model editing in the Unity editor itself (take THAT Blender!), but the capabilities of it don't extend as far as animation or creating advanced models.
Now, with the power to make some simple models in Unity, I went a bit silly. Okay, it's not that bad, but it's probably easier to show than to explain these ones...
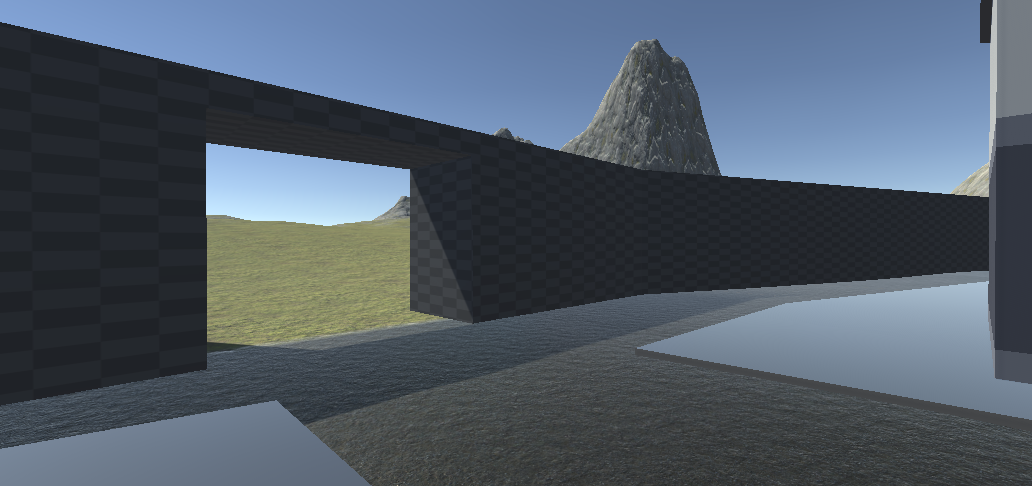
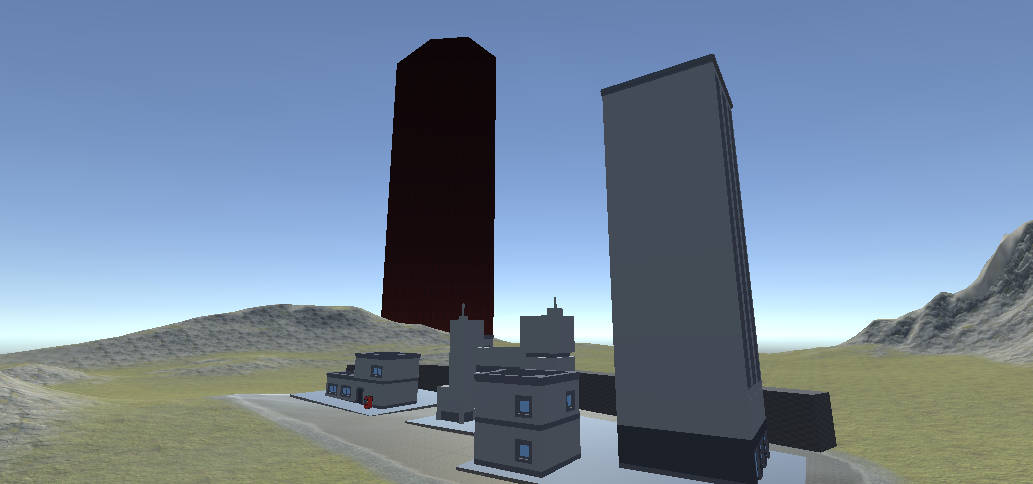
As you can see, the ProBuilder toolset can make some funky little things - in this case I added a snug little wall to my city, along with an over-watching Monolith to the background. I think these additions really bring the scene together... whatever that scene is supposed to be.
These extensions to Unity's default systems could prove extremely helpful in the creation of simple games, and maybe even actual games (if used skillfully).
Basic Unity movement
In this devlog I also had to create a simple Unity scene with a moveable version of the character from earlier! It wasn't too big of an affair, but I'll briefly explain the process.
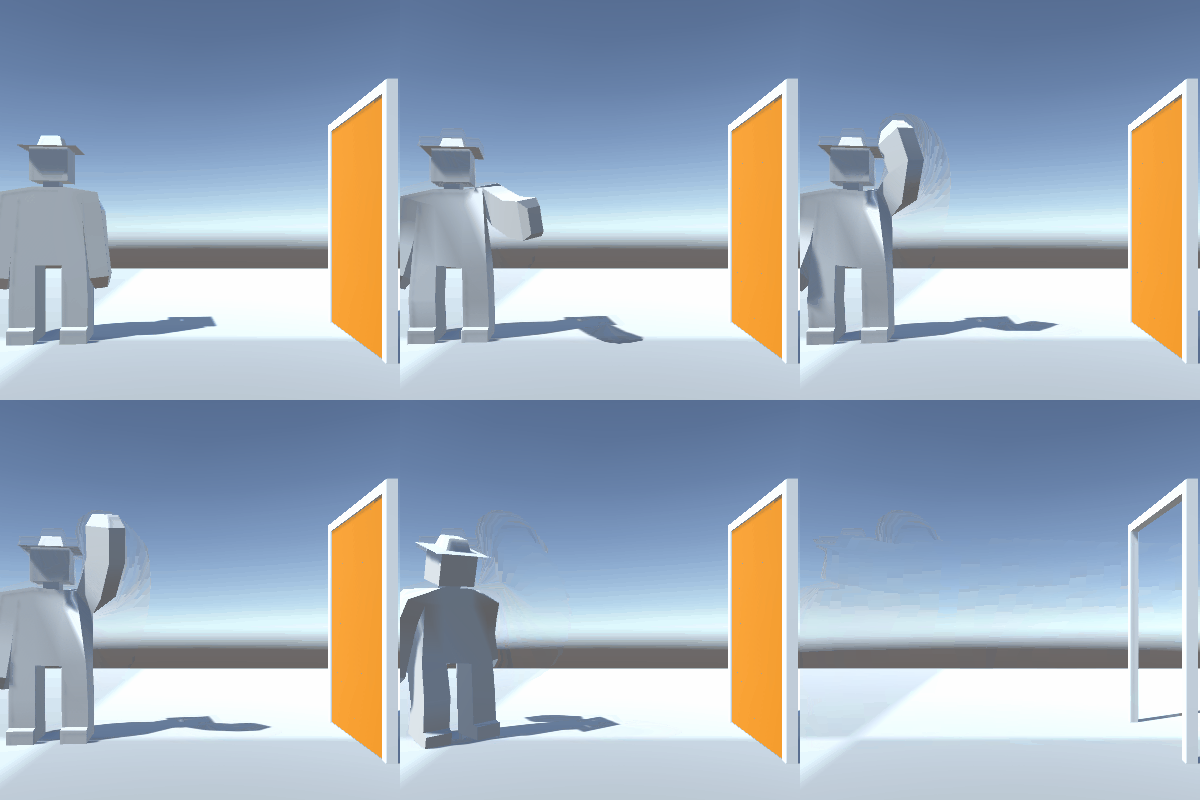
As you can see, the small clip shows the character waving to the camera, before walking through the door. This is actually all user controlled! The character is paired with an animator in Unity, which allows the animation to go through different states. In this case there is: 'walking', 'idling', and 'waving'.
Swapping between the states is handled by the controller, but this is done with the help of triggers, which only occur on player input - space for wave, move to walk. The movement of the character itself is handled by a prebuilt Unity component known as the character controller, along with a script for changing speed and rotation.
The last piece, the door itself, is merely controlled by a 'trigger' collider, set to send an event upon contact with the player's collider. This simply disables the door, making it disappear (and removing its collision). That allows the character to walk safely through the door! It wouldn't be hard to extend this functionality to open the door on approach and close it behind, or even to add an opening and closing animation, but that is beyond the task provided.
References
UTAS KIT207 Portfolio
| Status | Released |
| Category | Assets |
| Author | utas_nathan |
More posts
- Week 5: Lighting and ShadergraphsAug 14, 2023
- Week 4 (part 2): Game IdeasAug 06, 2023
- Week 4: Navmeshes and Simple MechanicsAug 06, 2023
- Week 2: Pain and SufferingJul 24, 2023
- Week 1: Blender BasicsJul 17, 2023